Liferay Okta Integration
How to integrate Okta as an Identity Provider for Liferay DXP using SAML 2.0
1. Introduction
Okta provides cloud software that helps companies manage and secure user authentication into
applications, and for developers to build identity controls into applications, website web services and
devices.
Okta could be integrated with Liferay using SAML 2.0.The SAML (Security Assertion Markup
Language) adapter provides Single Sign On (SSO) and Single Log Off (SLO) in your deployment.
Each Liferay DXP instance serves as either the Service Provider (SP) or the Identity Provider (IdP). An
identity provider is a trusted provider that provides single sign-on for users to access other websites. A
service provider is a website that hosts applications and grants access only to identified users with
proper credentials.
This tutorial explains how to configure Liferay DXP and Okta.
2. Okta Configuration
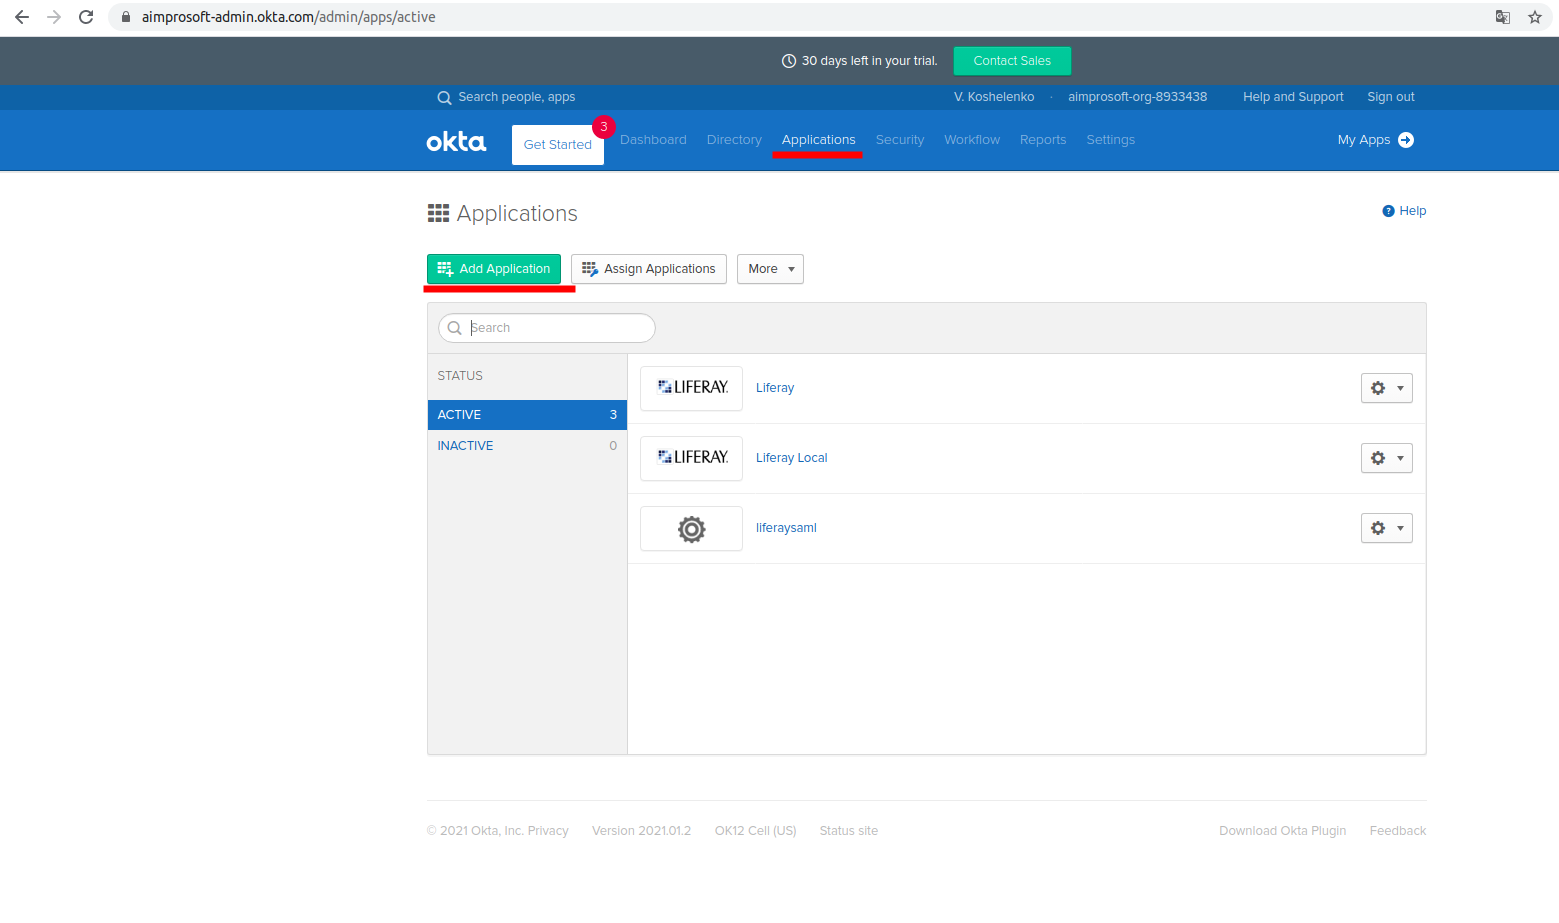
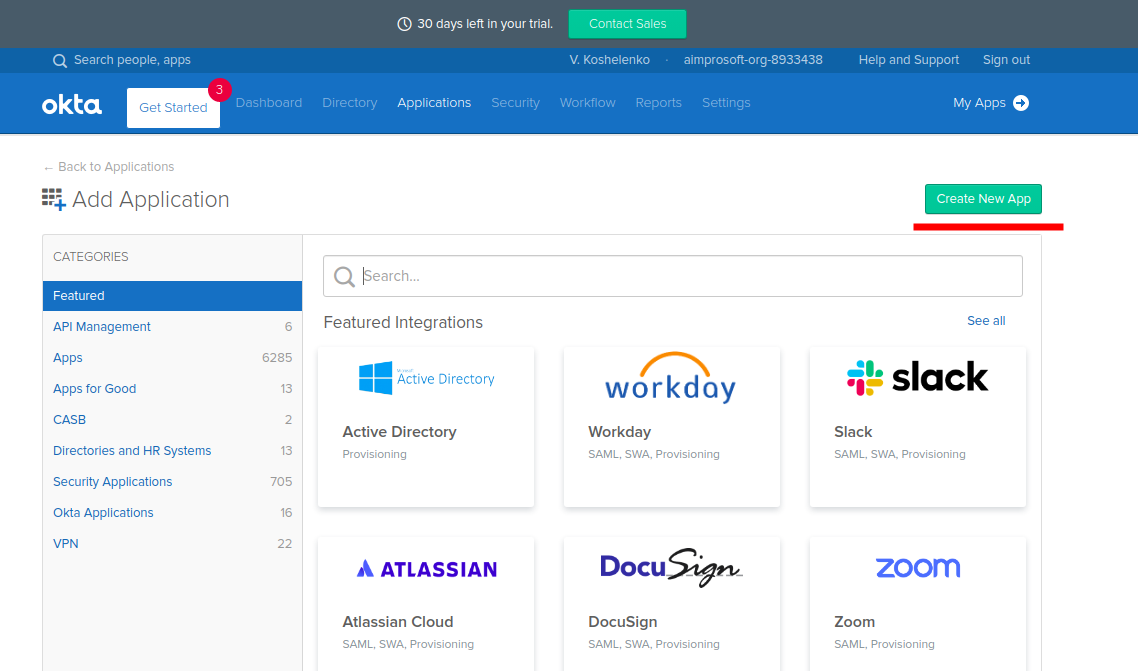
2.1. Log in to OKTA and navigate to Applications > Add Application > Create New App.
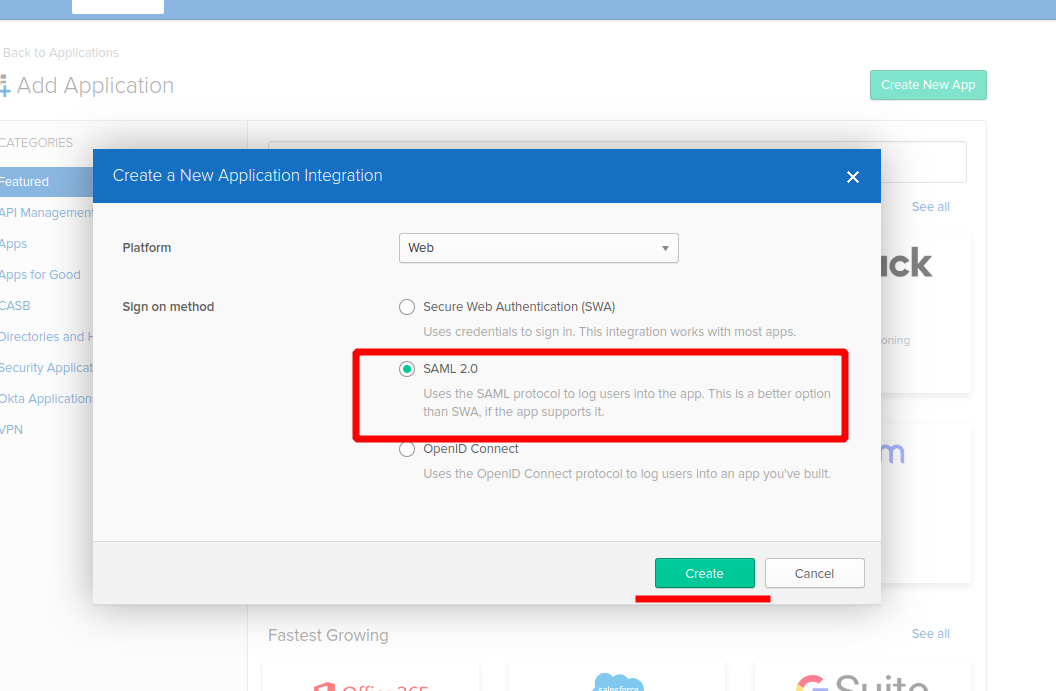
2.2. Select SAML 2.0 and click “Create”.
2.3. Enter “App Name” (f.e. “liferaysaml”) and click next.

2.4. Enter the following fields:
Single sign on URL: http://[myipaddress]:8080/c/portal/saml/acs
Audience URI (SP Entity ID): samldemo
Name ID format: EmailAddress
Application username: Email

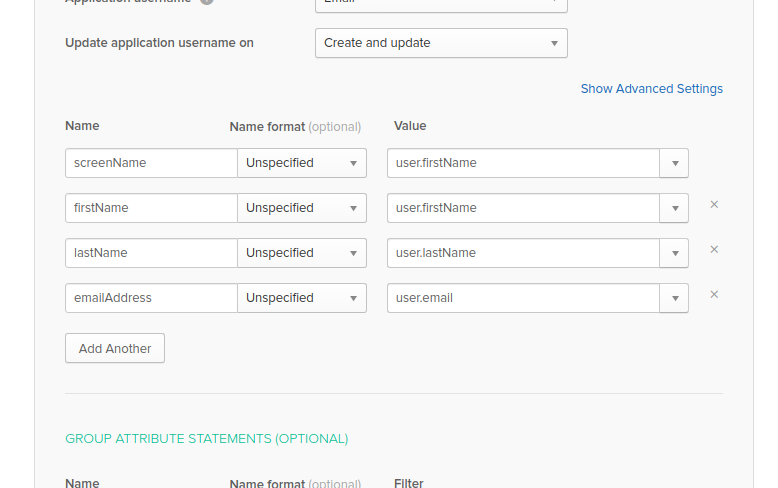
2.5. Select Attirbute Statments and click next.
screenName (Unspecified) = user.firstName
firstName (Unspecified) = user.firstName
lastName (Unspecified) = user.lastName
emailAddress (Unspecified) = user.email
2.6. Select “I'm an Okta customer adding an internal app” and click “Finish”

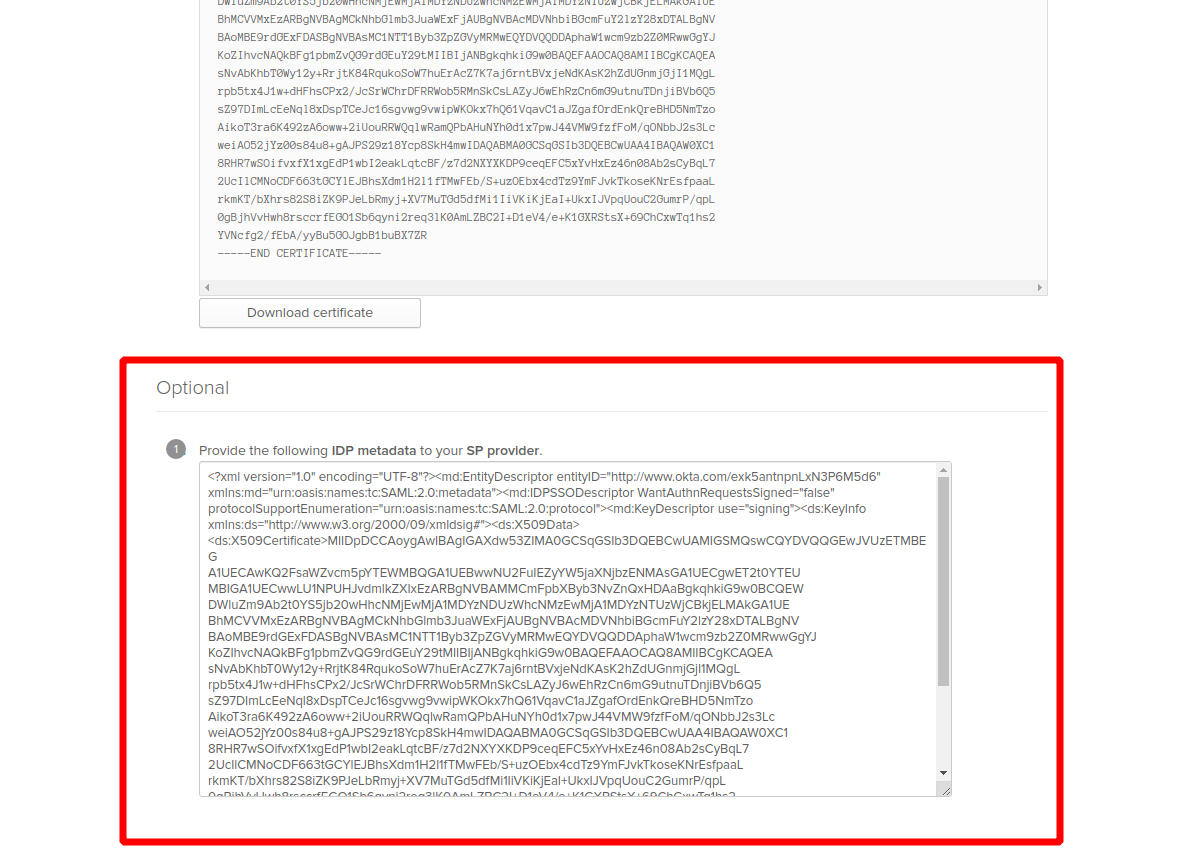
2.7. On the Sign On tab, click “View Setup Instructions”.

2.8. Under the Optional heading, select all the xml text and use it to create oktametadata.xml
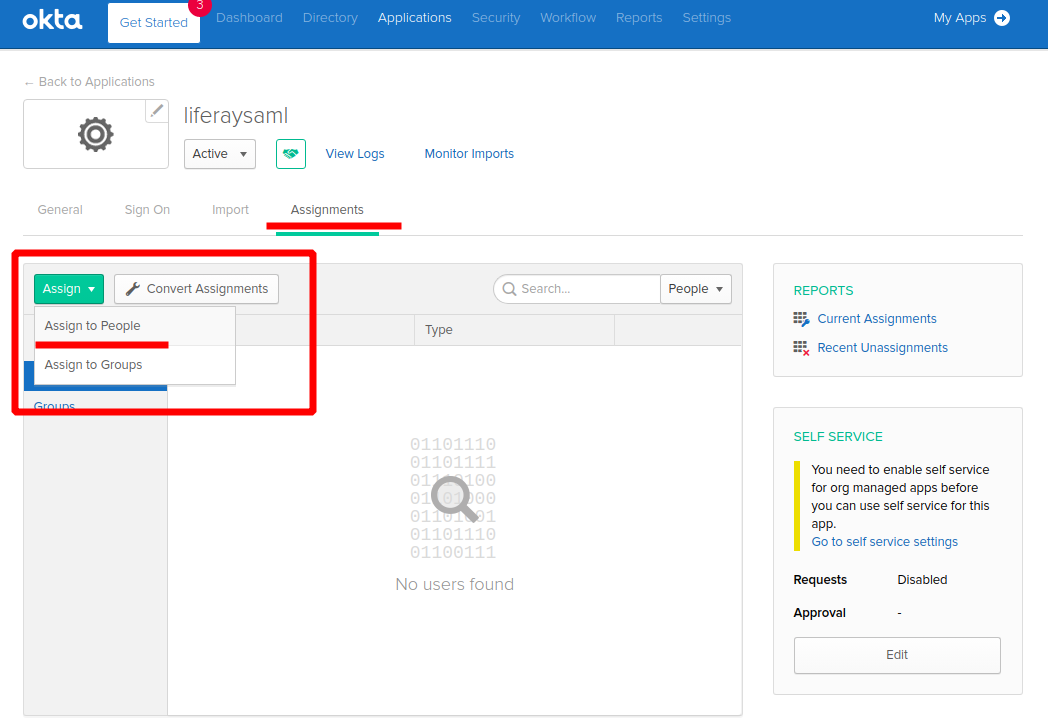
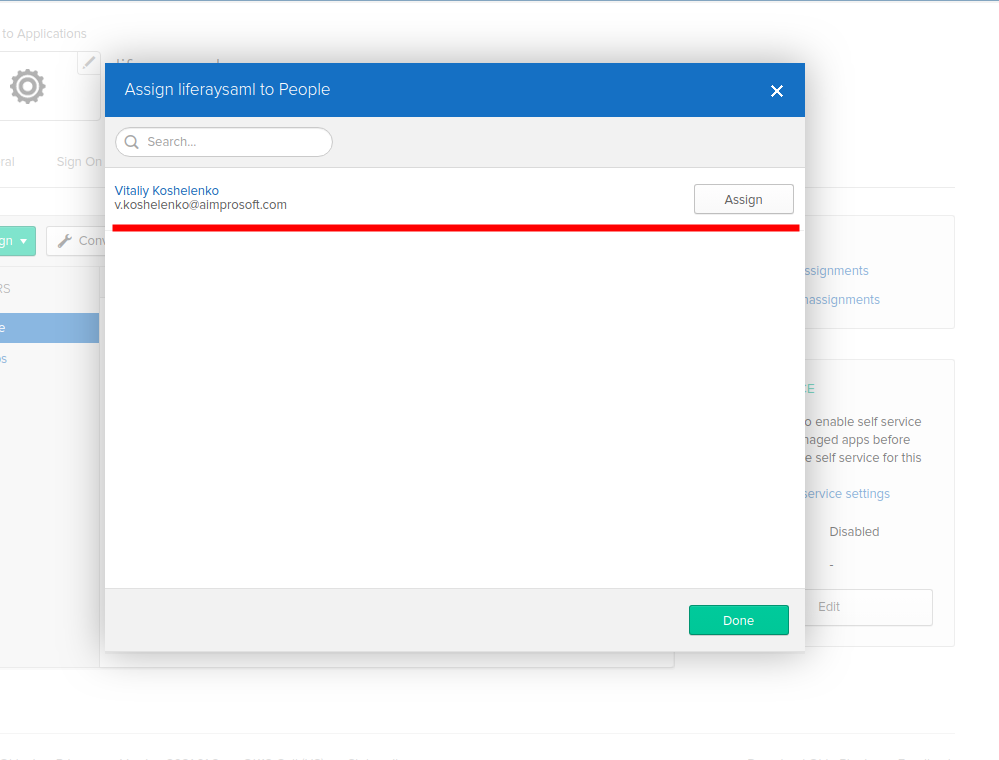
2.9. Navigate to “Assignments” click “Assign” > “Assign to People”, select your user and click “Assign”
3. Liferay Configuration
3.1. Configure HTTPS in apache tomcat (for more details see Liferay Tomcat SSL Configuration):
3.1.1. Go to the java home directory: cd $JAVA_HOME/bin
3.1.2. Generate key: keytool -genkey -alias ALIAS -keyalg RSA keystore PATH_TO_KEYSTORE/.keystore
ALIAS can be any word.
PATH_TO_KEYSTORE - path to the directory, where .keystore will be created.
After this .keystore file will be generated.
3.1.3. Export key:
keytool -export -alias ALIAS -keystore PATH_TO_KEYSTORE/.keystore -file server.crt
File server.crt will be created after this.
3.1.4. Import key: keytool -import -alias ALIAS -file server.crt -keystore $JAVA_HOME/jre/lib/cacerts
3.1.5. Go to TOMCAT/conf directory, open “server.xml” file and uncomment(or add) the following lines:
<!--
<Connector port="8443" protocol="HTTP/1.1" SSLEnabled="true"
maxThreads="150" scheme="https" secure="true"
clientAuth="false" sslProtocol="TLS"
/>
-->
3.1.6. Add SSL key configuration to uncommented(added) lines:
<Connector port="8443" protocol="HTTP/1.1" SSLEnabled="true"
maxThreads="150" scheme="https" secure="true"
clientAuth="false" sslProtocol="TLS"
keystoreFile="PATH_TO_KEYSTORE/.keystore"
keystorePass="PASSWORD"
/>
, where PATH_TO_KEYSTORE - path to generated .keystore file,
PASSWORD - keystore password.
3.1.7. Comment this line at the top of “server.xml” file:
<Listener className="org.apache.catalina.core.AprLifecycleListener" SSLEngine="on" />
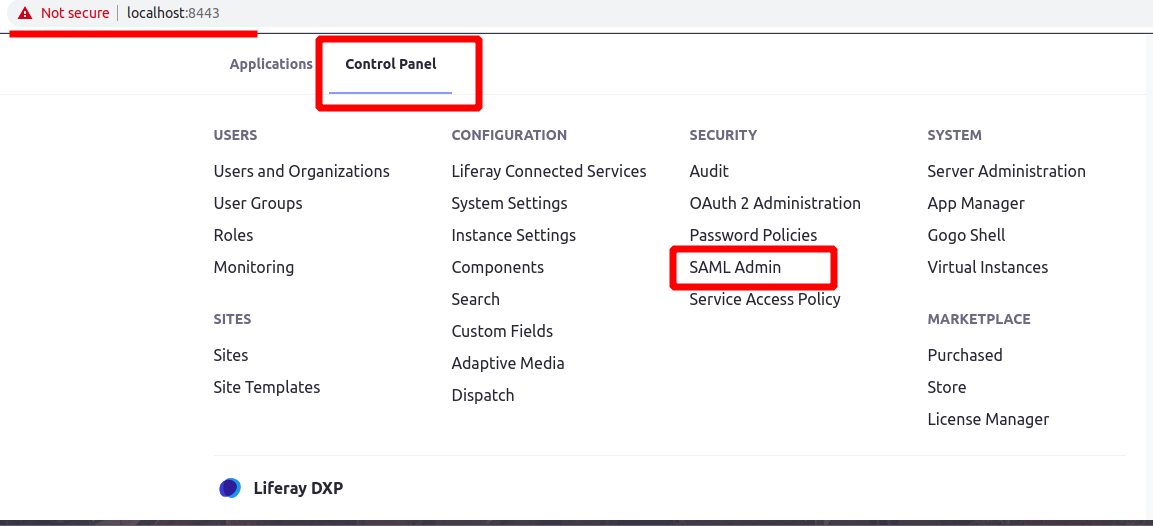
3.1.8. Restart TOMCAT, check URL in browser: https://localhost:8443
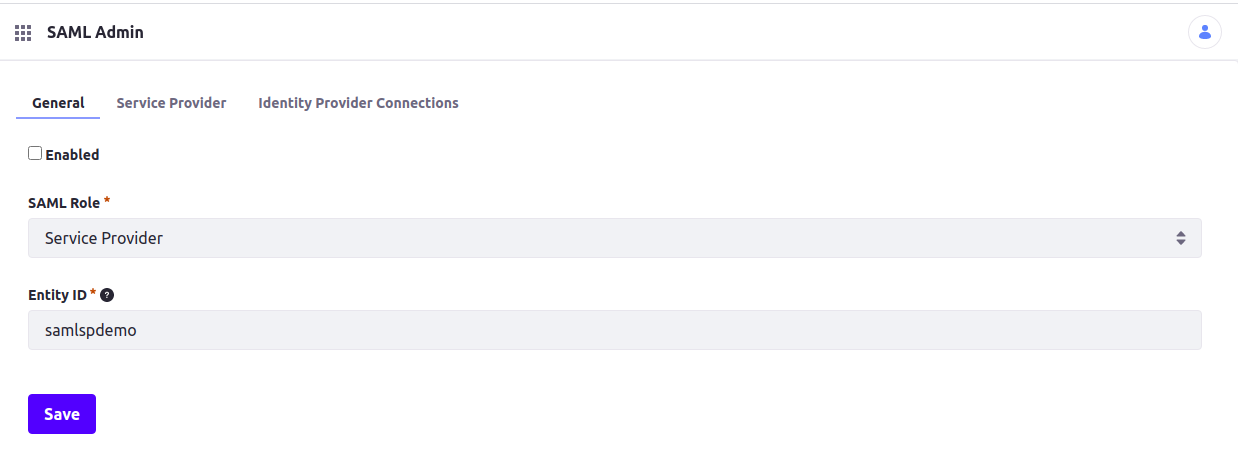
3.2. In Liferay go to “Control Panel” > “SAML Admin” > “General” and set the “SAML Role” to “Service Provider”, and “Entity ID” to “samldemo”.
3.3. Create certificates.

3.4. In the Service Provider tab, keep the default settings.

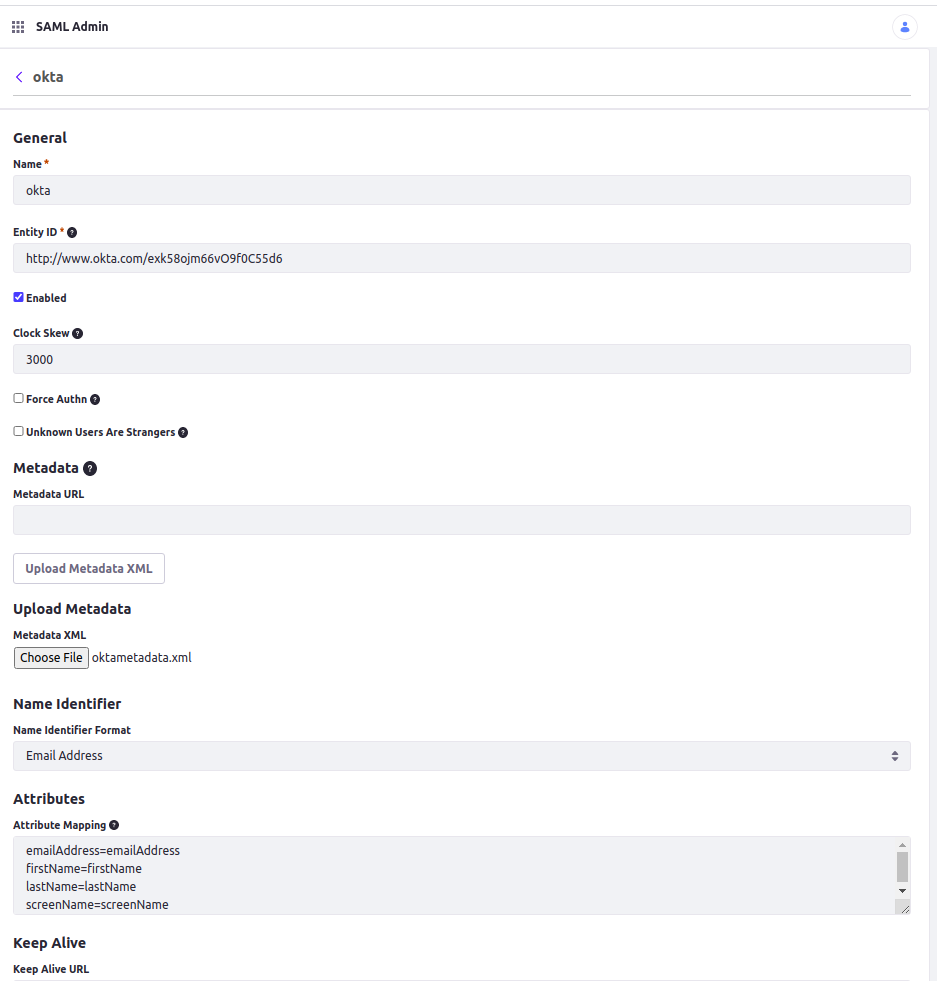
3.5. In Identity Provider tab click “Add Identity Provider”, set the following and save:
Name: okta
Upload the “oktametadata.xml” file created previously
Enter the “Entity ID” (found in xml file).
Set Name Identifier Format to Email Address
Enter the following Attributes:
emailAddress=emailAddress
firstName=firstName
lastName=lastName
screenName=screenName
3.6. Go back to the “General” tab and enable the “Service Provider”.

4. Example
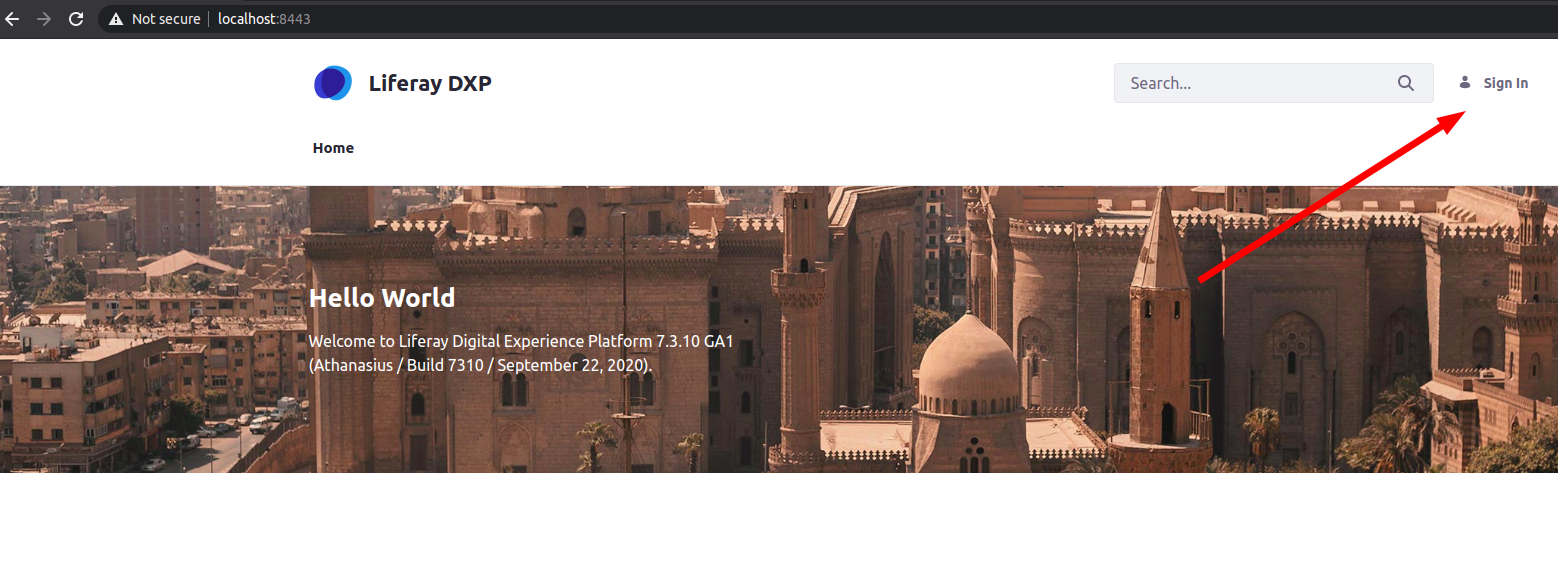
4.1. Add the “Sign In” portlet to the home page (In case the SSO is not working, administrator can sign into portal by passing SSO).
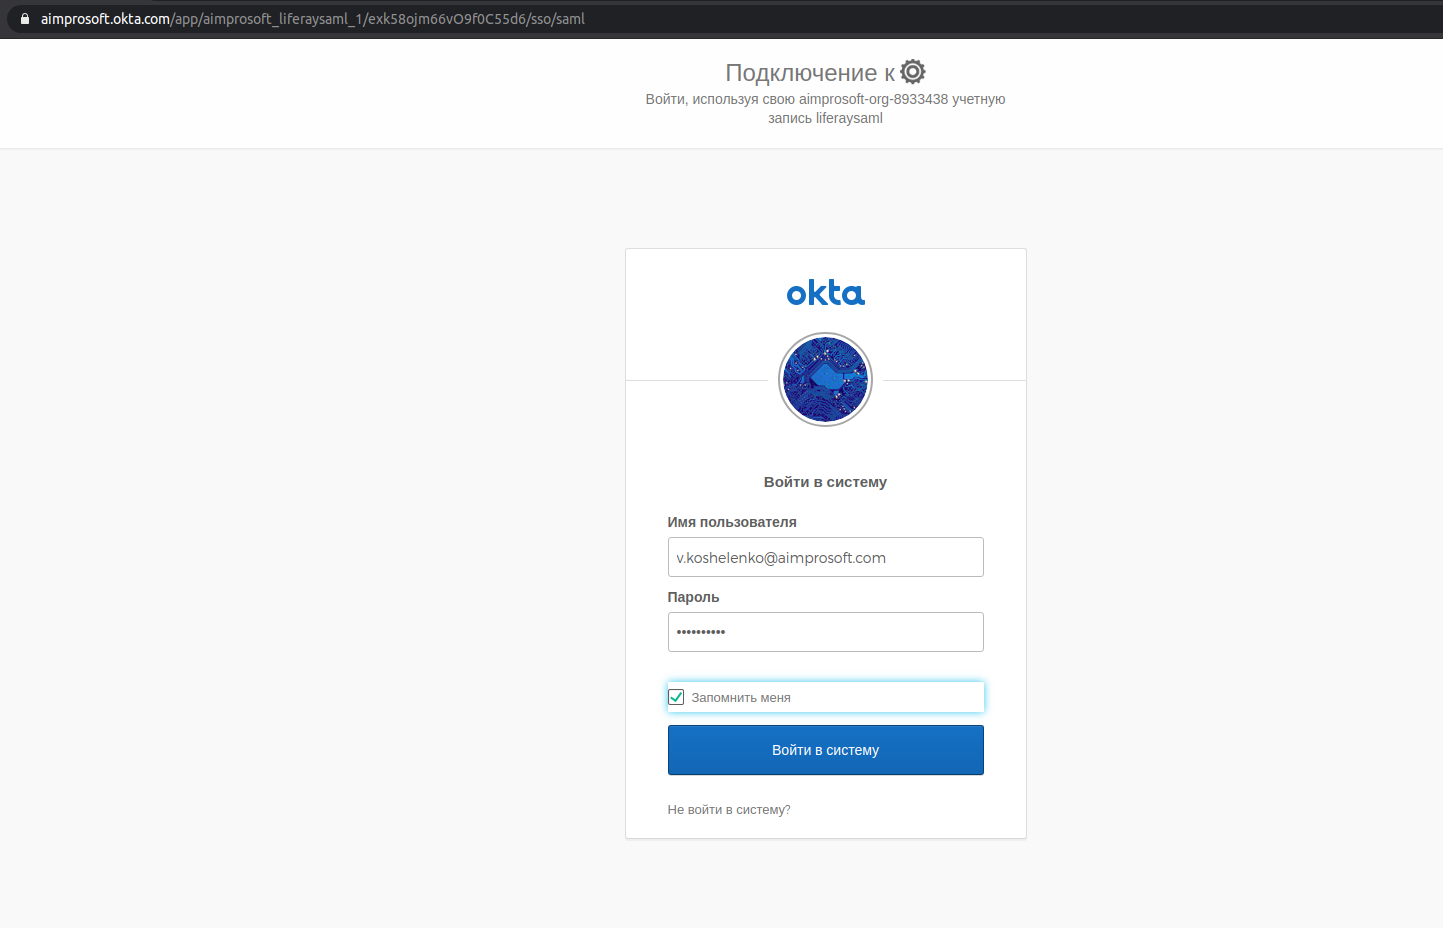
4.2. Open a new browser and click top right “Sign In” which will redirect the user to OKTA sign in page.
4.3. Fill in the user name and password.
4.4. Users will be redirected back to the Liferay home page and automatically signed in.


Comments
Post a Comment