Liferay Elasticsearch Integration
Liferay Elasticsearch Integration
How to Configure Remote Elasticsearch for Liferay DXP
Overview
Liferay DXP 7.4 comes with embedded (sidecar) Elasticsearch 7 out-of-the-box. Using sidecar implementation is not recommended for production servers due to performance and security issues. This article explains how to install and configure a remote Elasticsearch server, and connect it with Liferay 7.4. Also, you’ll find how to visualize your Elasticsearch data using the Kibana tool.
Remote Elasticsearch Configuration
1. Find the required Elasticsearch version
When you start Liferay - you can see two interesting things about Elasticsearch in logs:

1) A warning, indicating that sidecar Elasticsearch is not recommended to use;
2) An URL where sidecar Elasticsearch is running
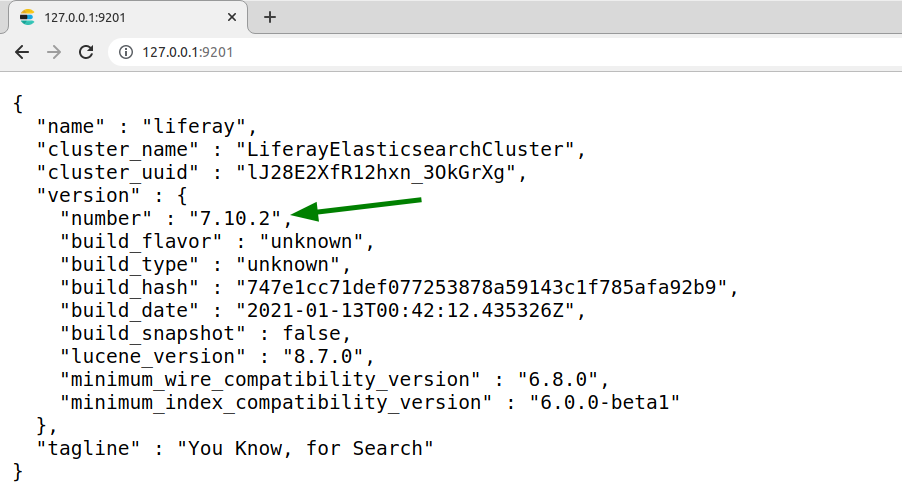
Once you hit that URL - you can see the Elasticsearch version you need:
2. Download Elasticsearch
Download Elasticsearch of the same version as running in Liferay from the official site:
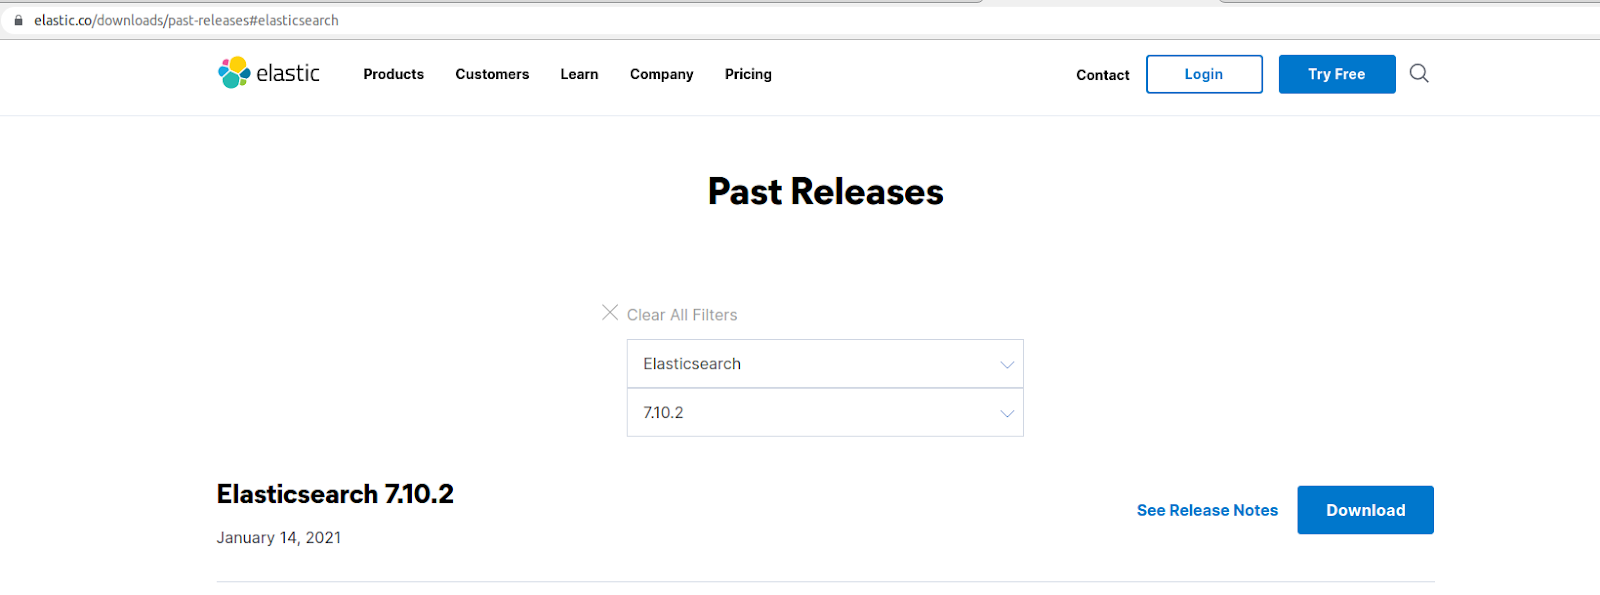
Sample link for version 7.10.2: https://www.elastic.co/downloads/past-releases/elasticsearch-7-10-2
3. Configure Elasticsearch
Unzip the archive, and navigate to the [elasticsearch]/bin folder.
Install the required plugins:
./elasticsearch-plugin install analysis-icu
./elasticsearch-plugin install analysis-kuromoji
./elasticsearch-plugin install analysis-smartcn
./elasticsearch-plugin install analysis-stempel

Modify the [elasticsearch]/config/elasticsearch.yml file, and specify the cluster name:
cluster.name: LiferayElasticSearch
4. Run Elasticsearch
Run from [elasticsearch]/bin folder:
./elasticsearch
Check the logs, make sure Elasticsearch is running at http://127.0.0.1:9200/
5. Configure Elasticsearch in Liferay
Navigate to Control Panel -> Search to check the Elasticsearch connection:

It should be sidecar (default) at this moment.
Navigate to Control Panel -> System Settings -> Search -> Elasticsearch7.
Modify “EMBEDDED” Operation Mode with “REMOTE”, and check the "Production Mode Enabled" checkbox:
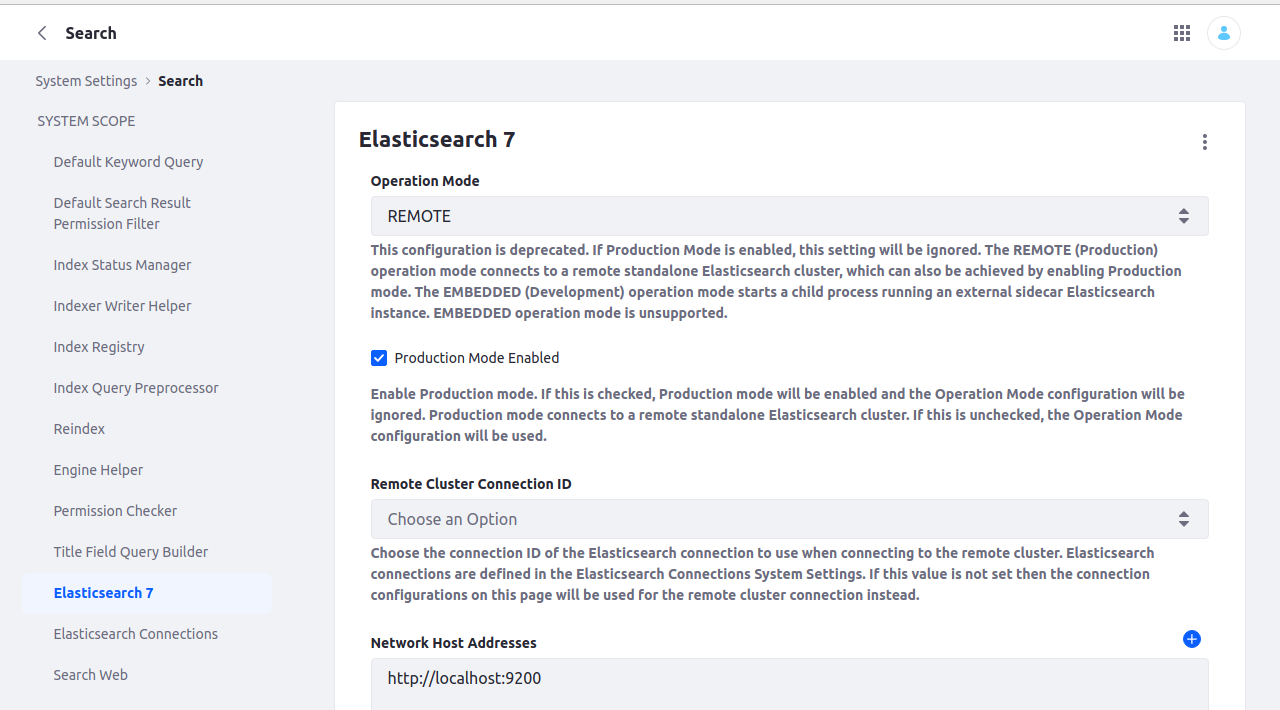
Make sure "Network Host Addresses" points to the standalone Elasticsearch URL, and "Cluster Name" is the same as defined in Elasticsearch configuration.
Save the configuration. Check again the Elasticsearch connection, and make sure it points to remote one now:

Switch to “Index Actions” tab, and Re-index the search indexes:

Bonus: Visualize Indexes with Kibana
Kibana is a separate Elastic tool for visualizing and analysis of Elasticsearch data.
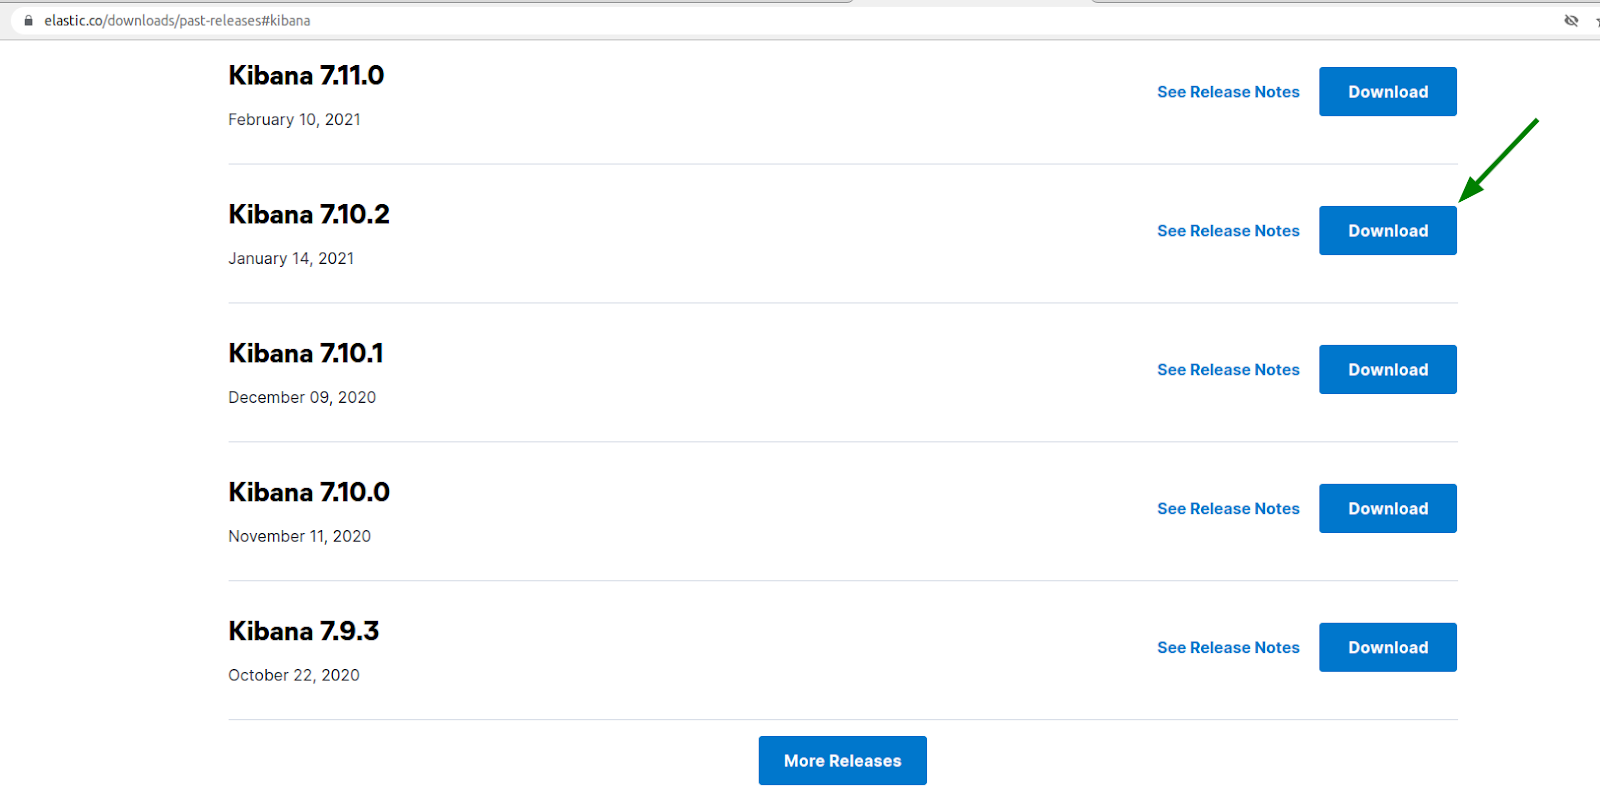
Download the Kibana compatible with Elasticsearch installation (the same version):
https://www.elastic.co/downloads/past-releases#kibana
Unpack the archive, and run from [kibana]/bin folder:
./kibana
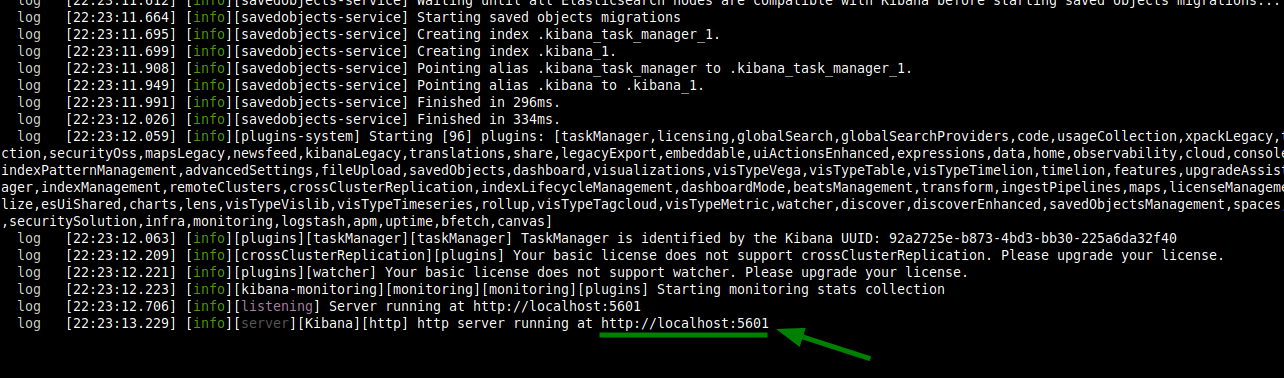
Monitor the logs, and wait until Kibana is started:
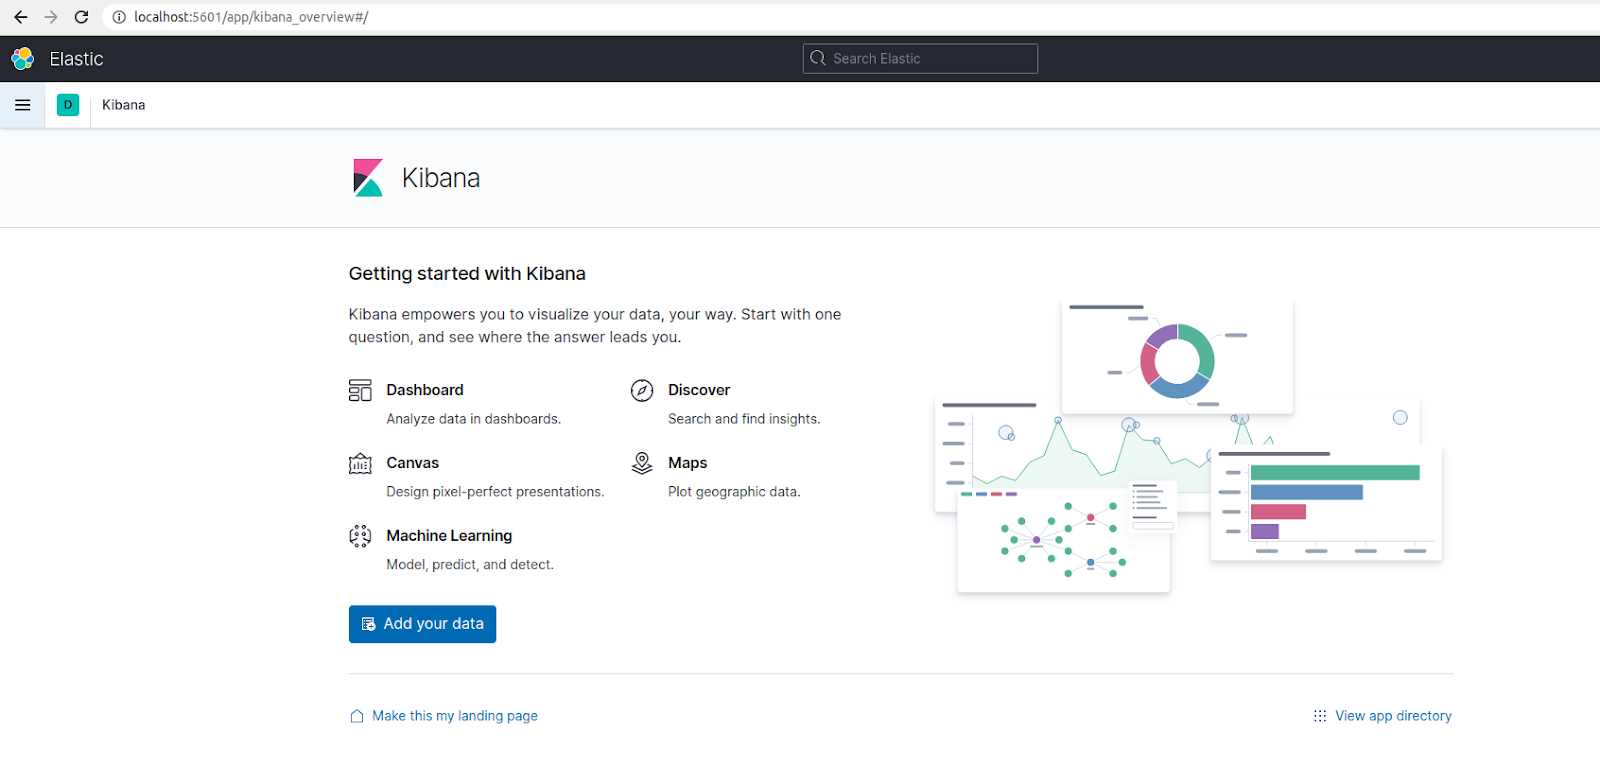
Navigate to the URL from logs (http://localhost:5601 by default):
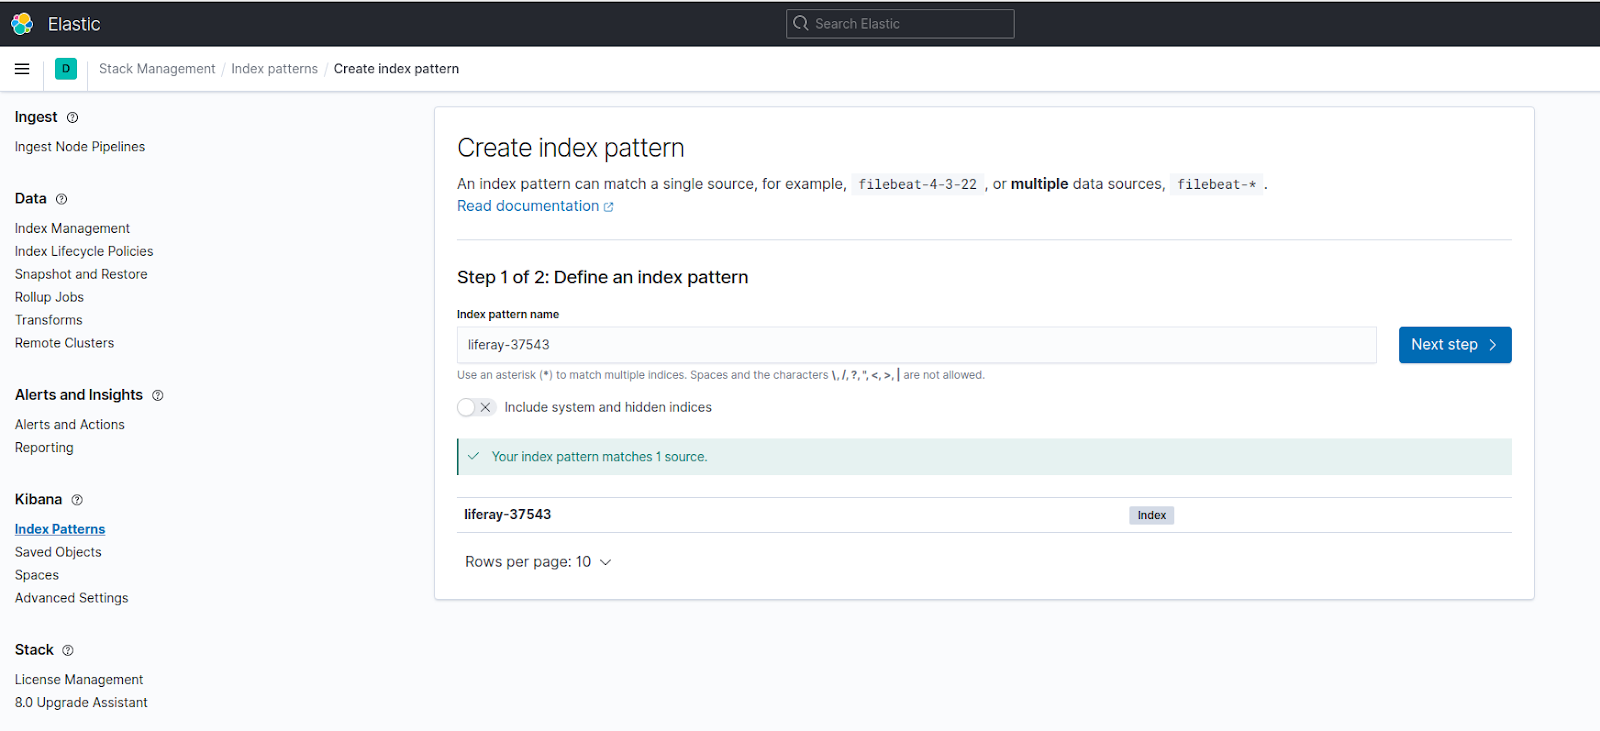
Create Index Pattern using the liferay-[companyId] index:
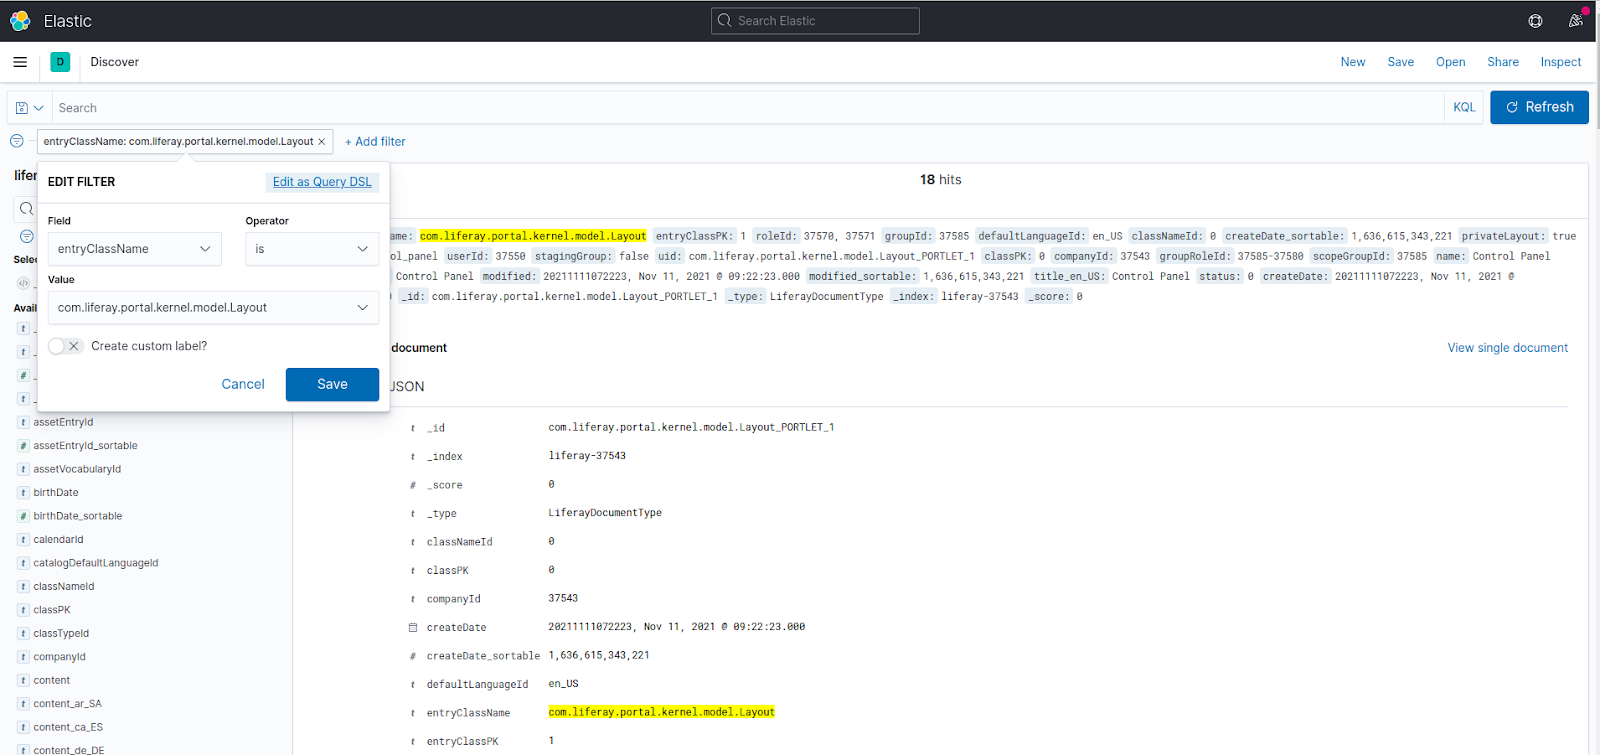
Save the Index Pattern, navigate to Kibana -> Discover menu and see the Elasticsearch documents:

You can apply different filters and check the data in Elasticsearch matching the specified filters:
Enjoy 😏

Comments
Post a Comment