Liferay Cloud CLI Introduction
Liferay Cloud CLI Introduction
How to manage Liferay Cloud using CLI
1. CLI Installation
Install Liferay Cloud CLI using command:
curl https://cdn.liferay.cloud/lcp/stable/latest/install.sh -fsSL | bash

Verify installation:
lcp version


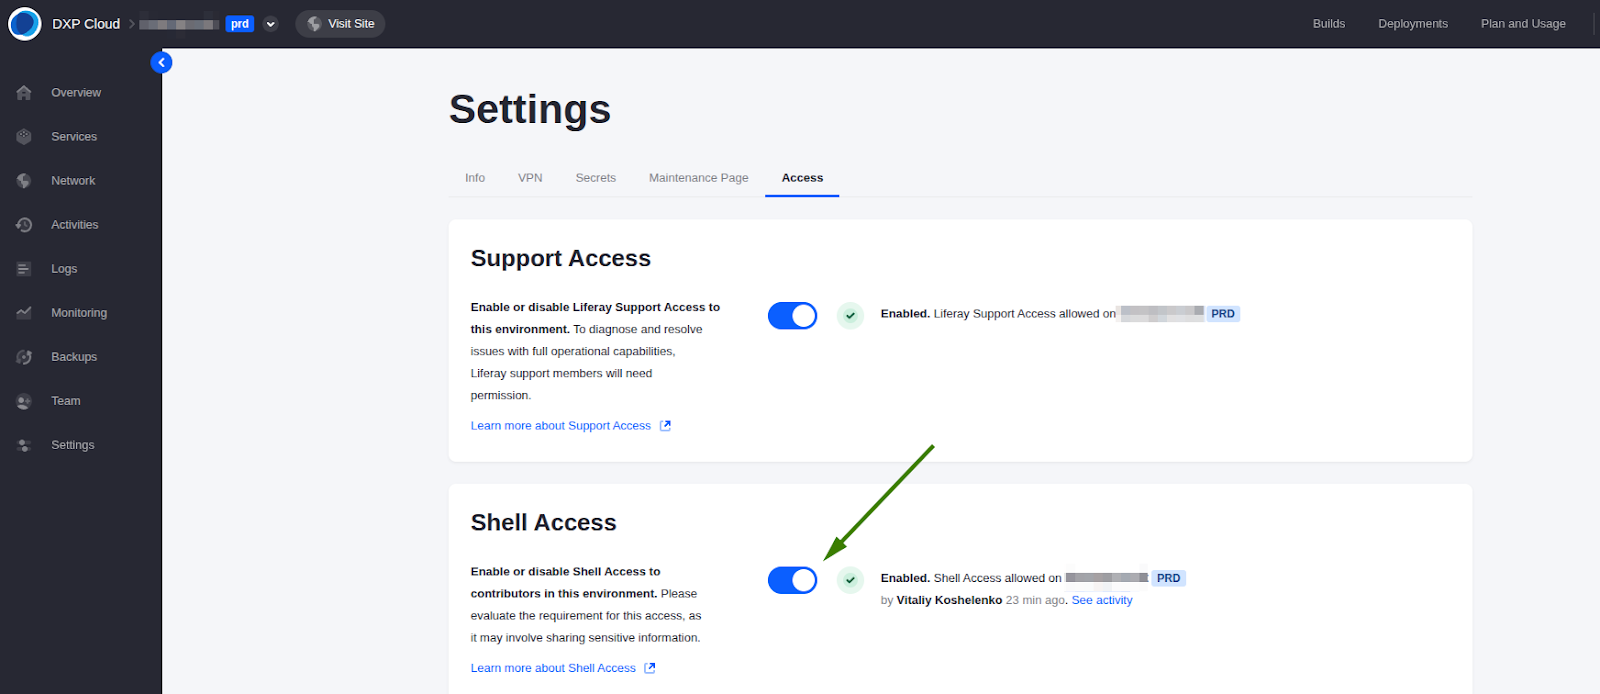
2. Enable Shell Access
In order to access the Liferay Cloud environment with the shell - the Shell Access must be enabled. Navigate to Settings → Access in your Liferay Cloud Console and enable the Shell Access:
3. Accessing the Shell
Run lcp shell command to access the shell:

Log in to Liferay Cloud Console:
and specify the service name.
For liferay service also specify the instance to connect to:
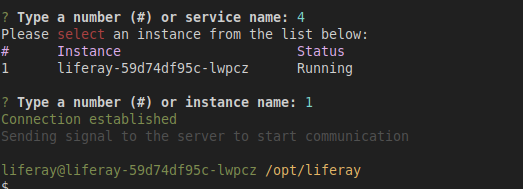
Now you’re connected to the Liferay server and can perform required checks and operations.
4. Accessing Logs
You can check server logs with the lcp log command.
See the list of available services using lcp list command:

and check the logs for specific service using command:
lcp log -p <project>-<environment> -s <service>

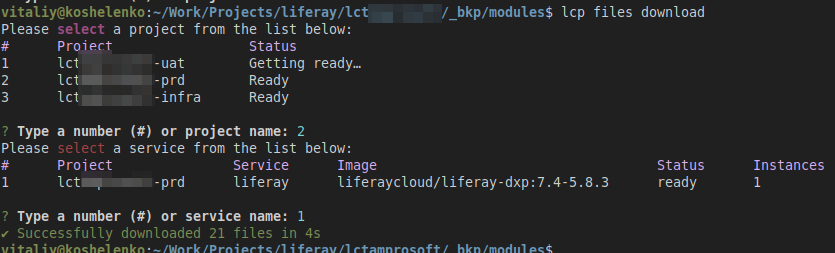
5. Copying files
To copy files from Liferay Cloud you can run lcp files download command:

Once files are prepared on the server in the /mnt/persistent-storage folder - just run the lcp files download command, specify the project and the instance - and all the files from /mnt/persistent-storage directory should be copied to the current local directory.
Enjoy 😏


Comments
Post a Comment